Ease Cash Login With Phone Number, Email, Online Portal, Website

Have you ever been in a situation where you needed money urgently, but you didn’t have access to a traditional bank account or loan? If so, you may have considered using a mobile loan app like Ease Cash.
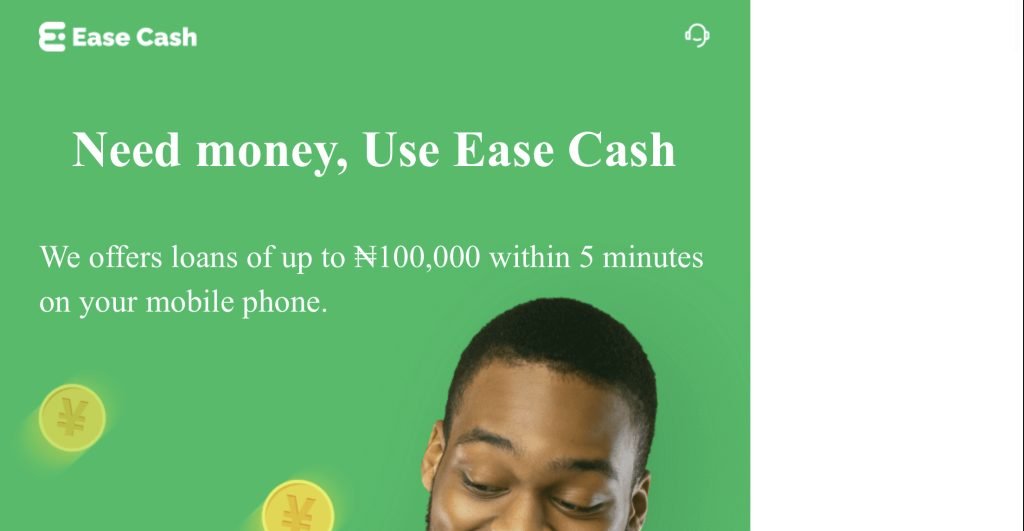
Ease Cash is a popular mobile loan app in Nigeria that allows users to borrow money quickly and easily, using their phone number or email address. The app is easy to use and has a simple registration process.
One of the biggest challenges with using a mobile loan app is logging in. Many users find it difficult to remember their login credentials or to navigate the app’s interface.
If you can’t log in to your Ease Cash account, you won’t be able to access your funds or borrow money. This can be a major inconvenience, especially if you need money urgently.
In this blog post, we will show you how to log in to your Ease Cash account with your phone number, email address, online portal, or website.
What is Ease Cash?
Before we go into the login procedures, let’s briefly introduce Ease Cash.
Ease Cash is a mobile money and online loan platform that allows users in Nigeria to perform various financial transactions.
Users can send and receive money, pay bills, make online purchases, and even access loans, provided they meet the eligibility criteria.
How to Sign Up for Ease Cash
If you’re new to Ease Cash, follow these steps to create an account:
Step 1: Go to the Ease Cash Website or Download the App
Begin by visiting the official Ease Cash website or downloading the mobile app from the Google Play Store or the App Store.
Step 2: Enter Your Phone Number or Email Address
On the sign-up page, provide either your phone number or email address, whichever you prefer to use for your Ease Cash account.
Step 3: Create a Password and Confirm It
For security reasons, create a strong and unique password and confirm it to ensure accuracy.
Step 4: Enter Your Personal Information
Fill in your personal details, including your full name, date of birth, and address. Accuracy is key here.
Step 5: Review the Terms and Conditions and Agree to Them
Take some time to read through the terms and conditions carefully. Once you’re satisfied, click the checkbox to agree to them.
Step 6: Click “Sign Up”
Finally, click on the “Sign Up” button to complete the registration process.
How to Log In to Ease Cash with Your Phone Number
If you already have an Ease Cash account and want to log in using your phone number, follow these steps:
Step 1: Go to the Ease Cash Website or Open the App
Navigate to the Ease Cash website or open the mobile app on your device.
Step 2: Click on the “Log In” Button
Locate and click on the “Log In” button to access the login page.
Step 3: Enter Your Phone Number and Password
Provide your registered phone number and the password you created during the sign-up process
Step 4: Click on the “Log In” Button
Click the “Log In” button, and you’ll be securely logged into your Ease Cash account.
How to Log In to Ease Cash with Your Email Address
Alternatively, you can log in to Ease Cash using your email address:
Step 1: Go to the Ease Cash Website or Open the App
Head to the Ease Cash website or open the mobile app.
Step 2: Click on the “Log In” Button
On the login page, find and click on the “Log In” button.
Step 3: Enter Your Email Address and Password
Input the email address associated with your Ease Cash account, along with your password.
Step 4: Click on the “Log In” Button
Finish the process by clicking the “Log In” button, and you’ll gain access to your account.
How to Log In to Ease Cash Through the Online Portal
Ease Cash also provides an online portal for users who prefer this method. Here’s how to log in
Step 1: Go to the Ease Cash Online Portal
Visit the dedicated Ease Cash online portal.
Step 2: Enter Your Username and Password
Provide your username and password in the respective fields.
Step 3: Click on the “Log In” Button
Click the “Log In” button on the portal, and you’ll be logged into your account.
How to Log In to Ease Cash Through the Website
For those who prefer logging in via the website, here’s how
Step 1: Go to the Ease Cash Website
Go to the official Ease Cash website.
Step 2: Click on the “Log In” Button
Locate and click on the “Log In” button on the website.
Step 3: Enter Your Username and Password
Provide your username and password, and
Step 4: Click on the “Log In” Button
Click the “Log In” button to access your Ease Cash account.
What should you do if I Forgot My Password
If you’ve forgotten your password, follow these steps
1. Click on the “Forgot Password?” link on the login page.
2. Enter your registered phone number or email address.
3. You’ll receive a link to reset your password via SMS or email.
Conclusion
Logging in to Ease Cash is a straightforward process, with options to use your phone number, email address, or online portal. I hope you’ve learnt something insightful:
FAQs
Is ease cash a legit loan app?
Ease Cash is not a legitimate loan app. It is a rogue app that has been delisted from the Google Play Store for violating the Limited Interim Regulatory/Registration Framework and Guidelines for Digital Lending, 2022 (Guidelines) issued by the Federal Competition and Consumer Protection Commission (FCCPC) of Nigeria.